Application Project for Multi Media at FH Salzburg
Not so long ago we played the boardgame 'Risk' and one of my friends seemed to have magical dice: he would always scream "SIX!" and roll a guaranteed six afterwards. A few frustrating rounds later I asked him for the secret behind this technique, but somehow I already knew the answer: Der Werfer (in english: The Launcher).
This was my application project for studying computer animation at FH Salzburg. It was important to me that everything was done from scratch, I even took my guitar out to play the music during the climax of the animation.
Although I am always at the edge of laughing when re-watching this today, there are still some gimmicks and little details in this piece that make me proud. Like that one guy lying on the floor - visible just for a few frames:

behind the scenes
Here are some stories about the creative and technical challenges of this project:
concept
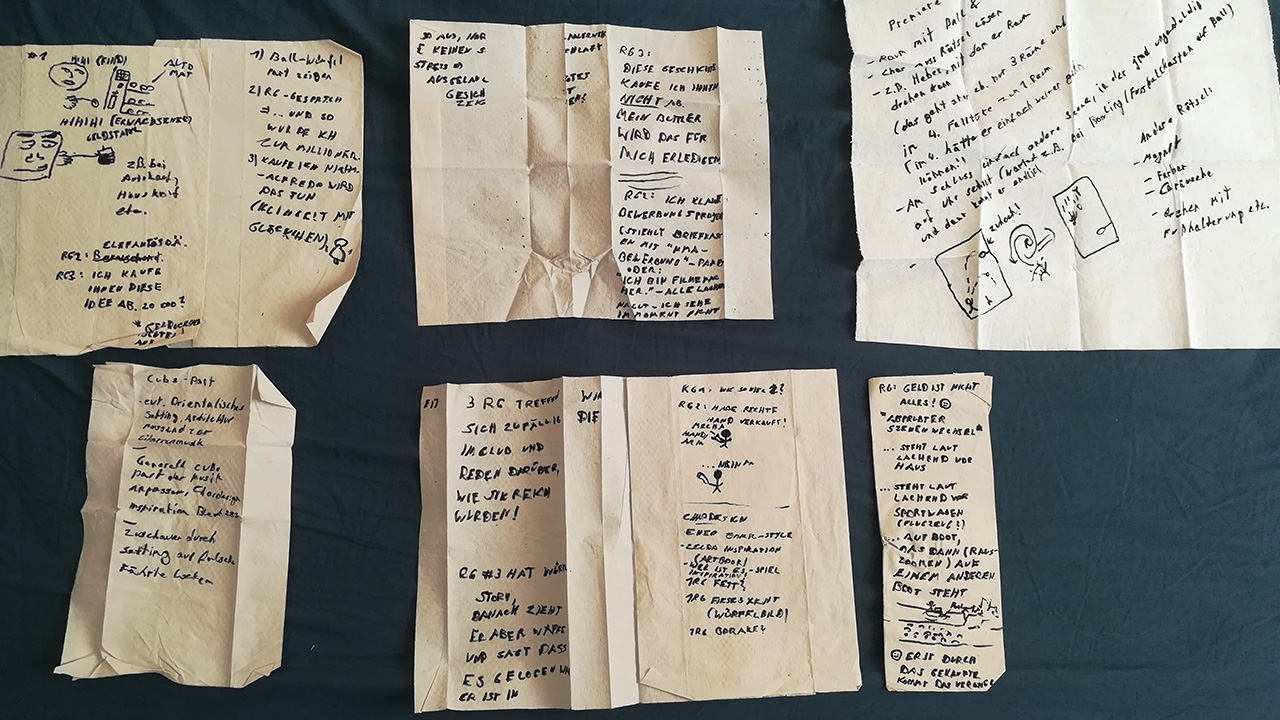
First I brainstormed for the given topic 'fake'. Good thing that I currently had a really boring summer job, where I would be sitting in a big depot all day, waiting for people to come in and make their requests. Luckily there were some paper towels beneath my desk so I could start jotting down ideas:
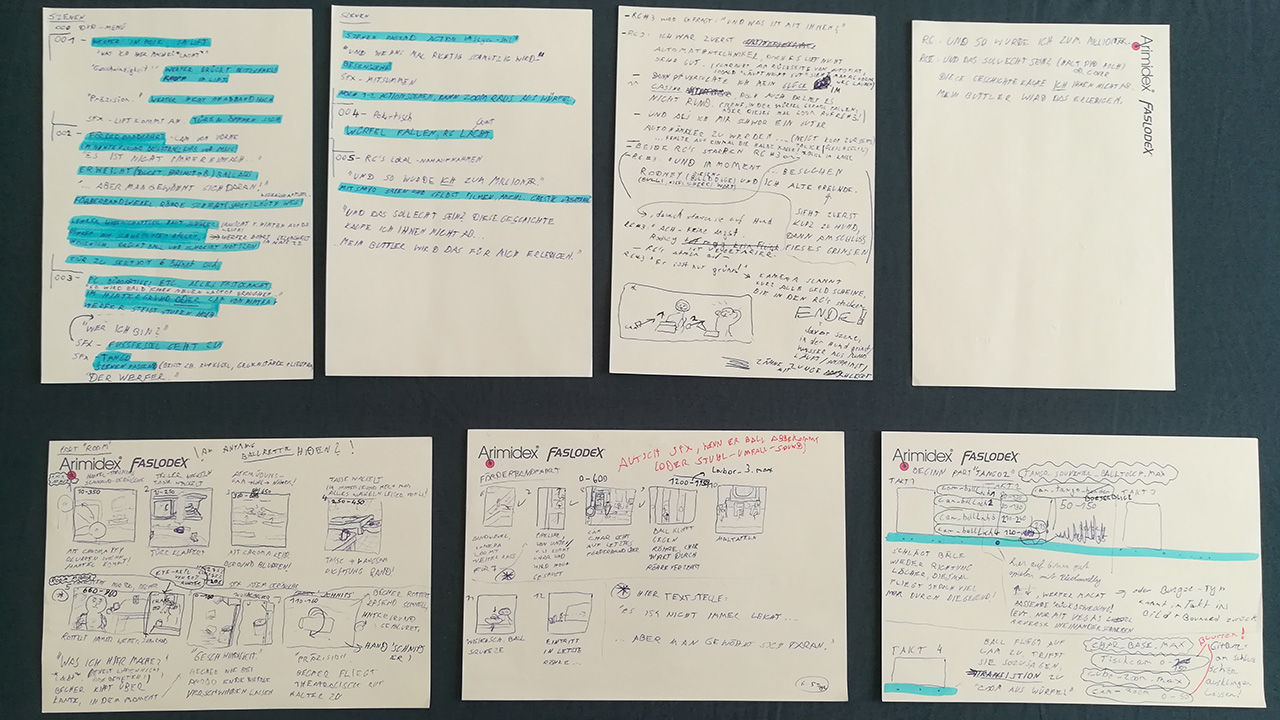
After that I created the storyboard, using small tiles to indicate what each keyframe would look like. This time actual paper was used:

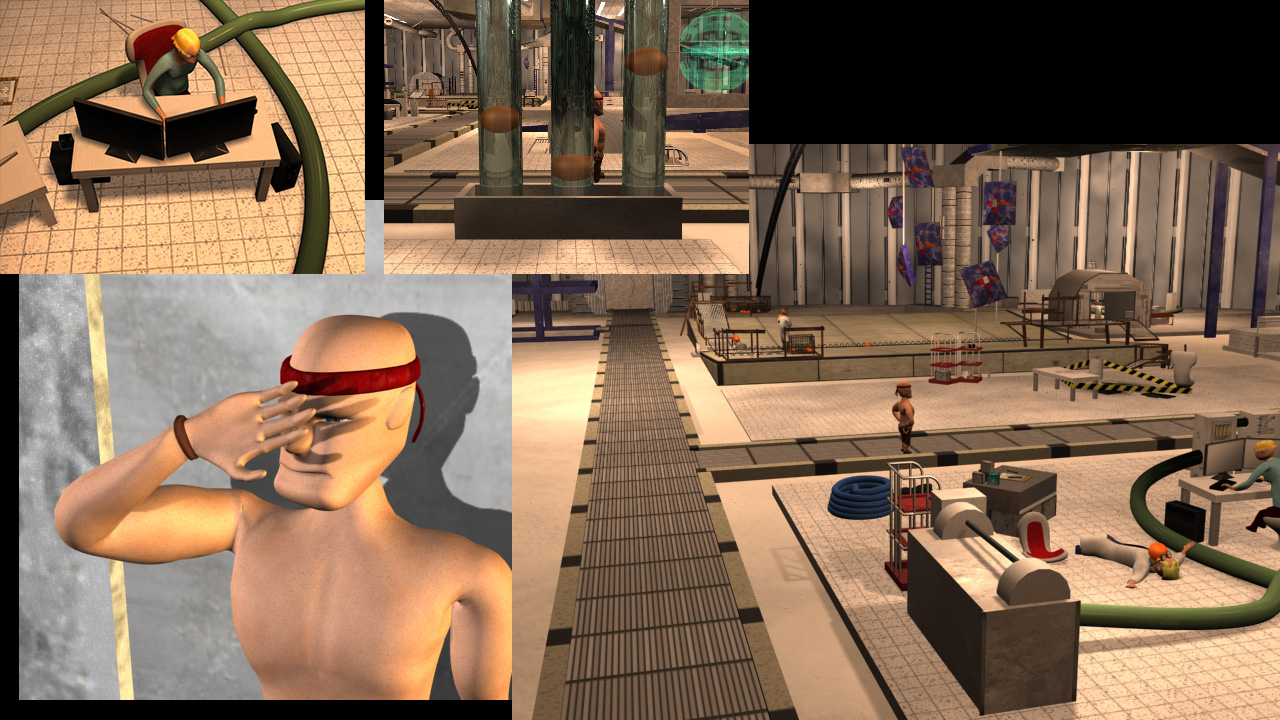
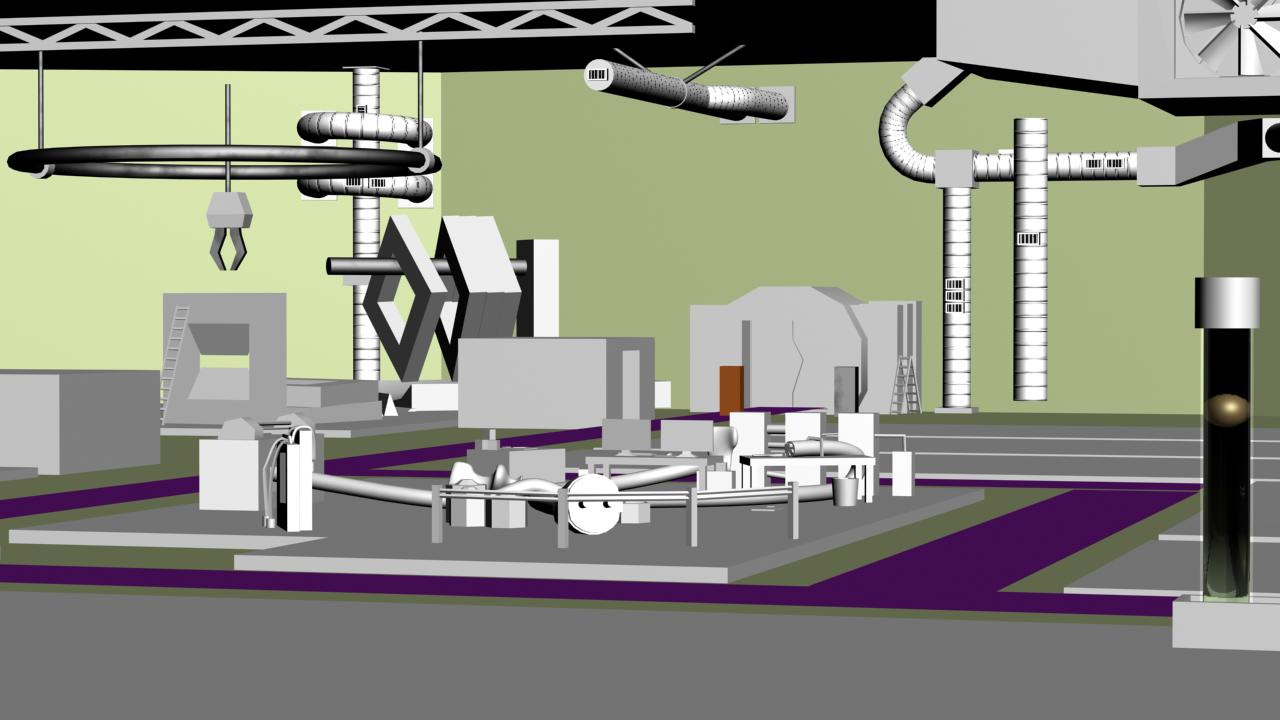
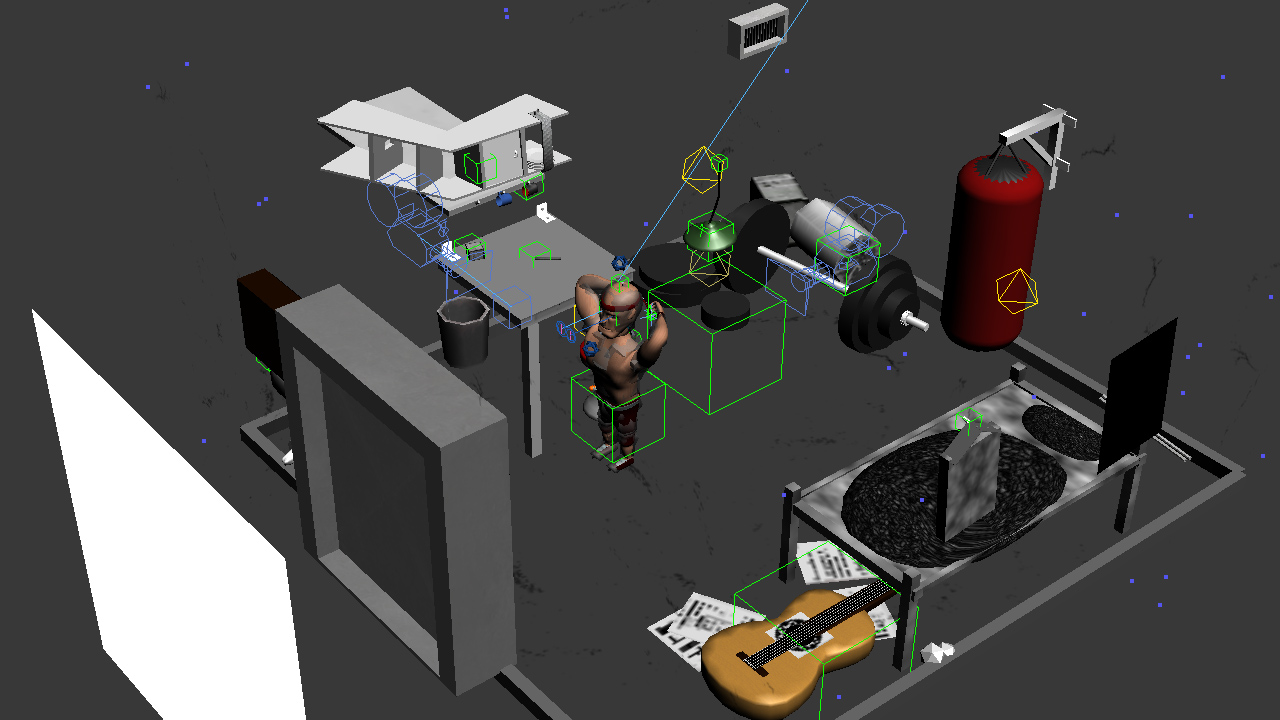
creating the scenery
This project has many different scenes and camera angles, loads of assets had to be created to make the world feel inhabited and alive.
There were also a lot of textures that had to be drawn:

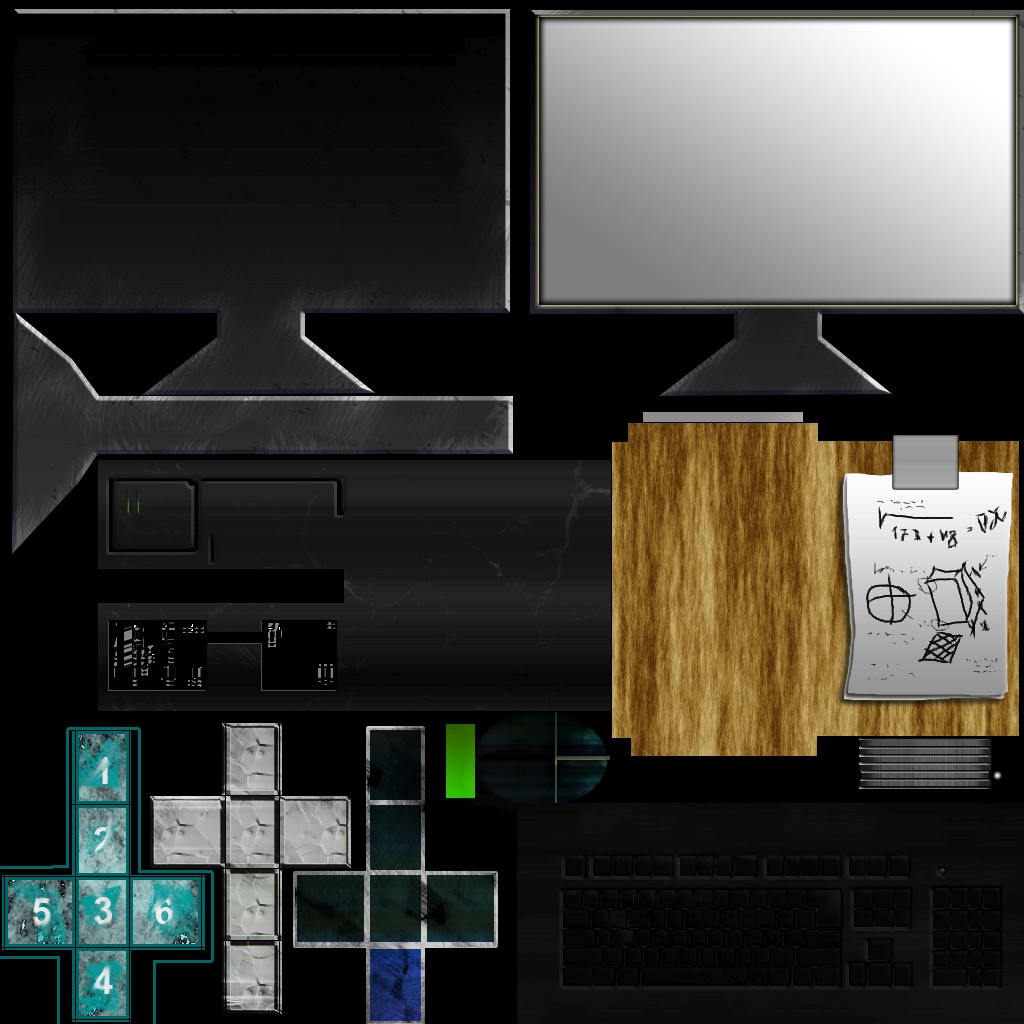
And these are just the texture maps for machines & computers. There would also be maps for the skin of the characters, environment maps for big things like plates, pipes or walls and so on.
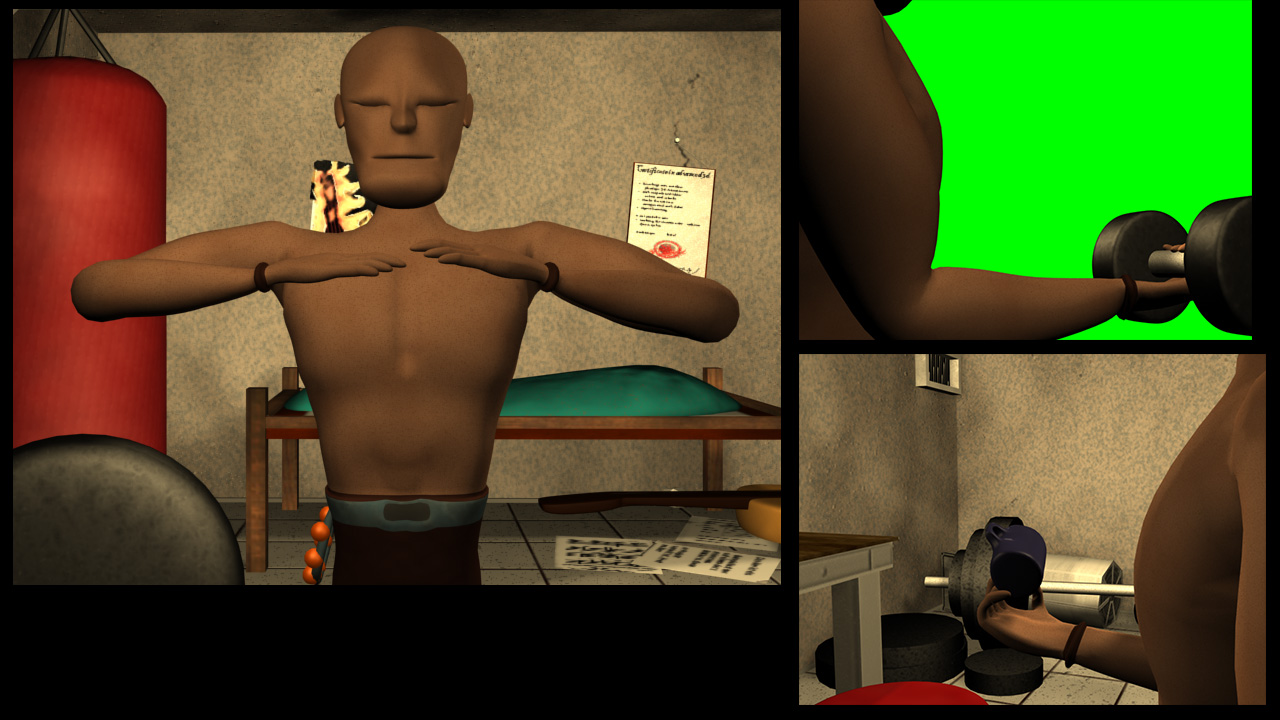
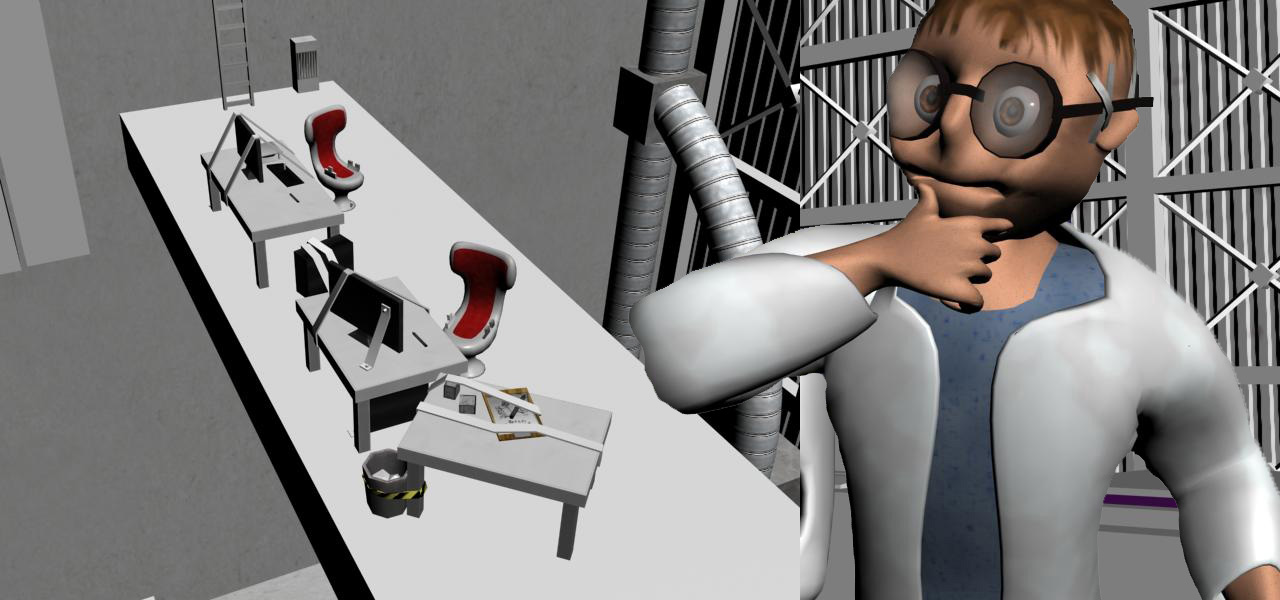
rigging & animation
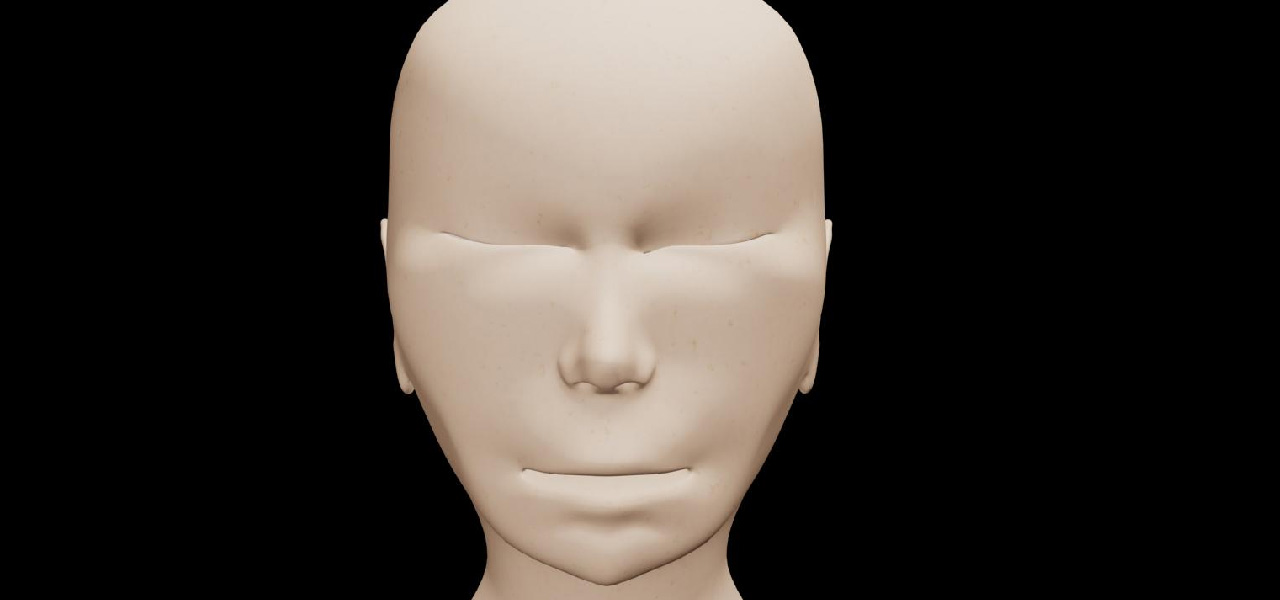
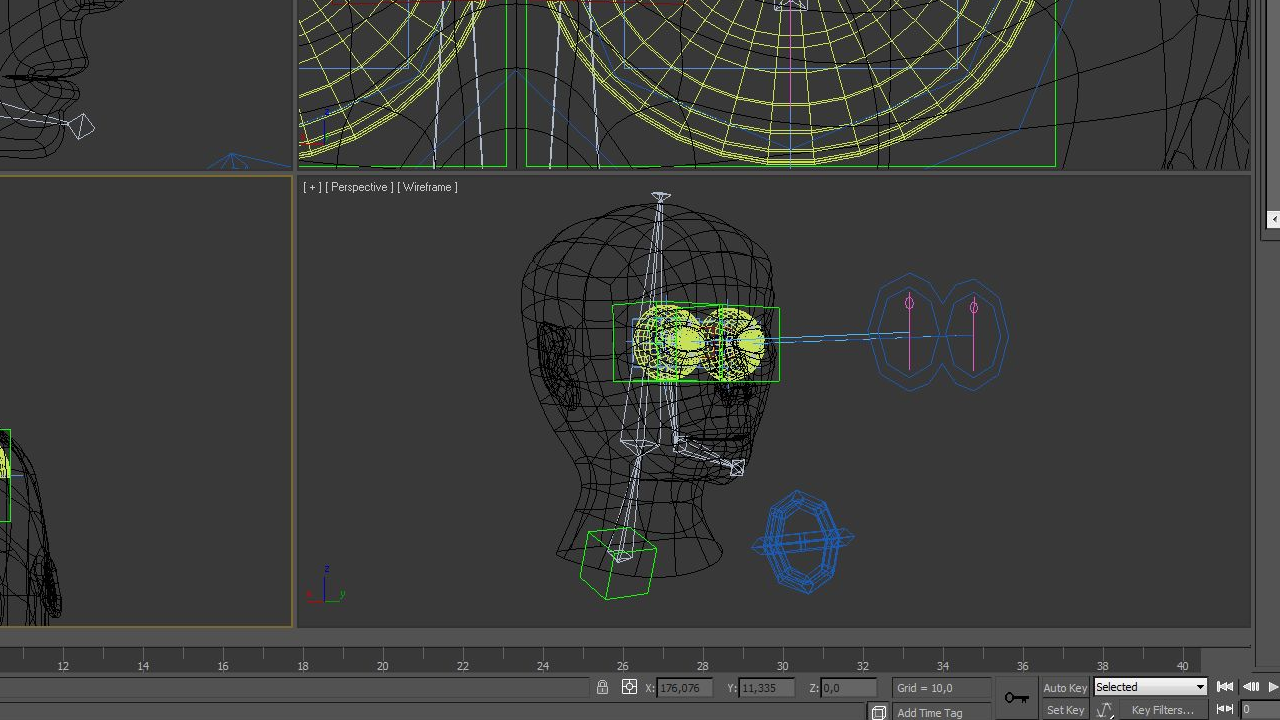
Although I have rigged robots and simple, stylized characters before this was the first time working with human characters. Creating the head & facial rig was especially tricky.
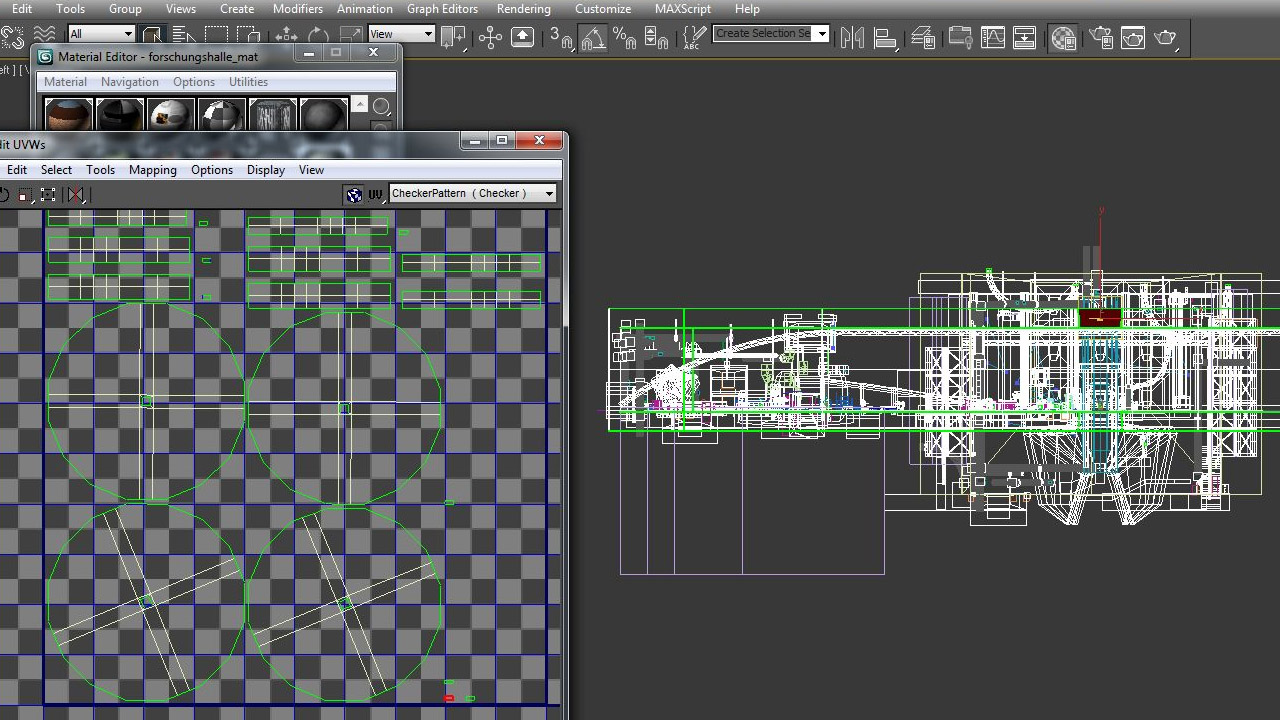
While animating I tried to match the music as best as possible with the movement of the characters - 3ds max timeline showing the actual waveform was very useful for that:

audio
This was the second time in total that I did my own recordings, for this occasion I also bought my first 'professional' microphone set:

Can you guess how each sound was created? (headphones recommended)
and something more difficult:
Most of them were created with ordinary items you would find in any household, here is the solution:
- opening a lipstick
- rollerskates
- scrubber
- planing wood
In the final animation you won't hear them separately but rather mixed together to create sound effects like opening doors or footsteps.
done
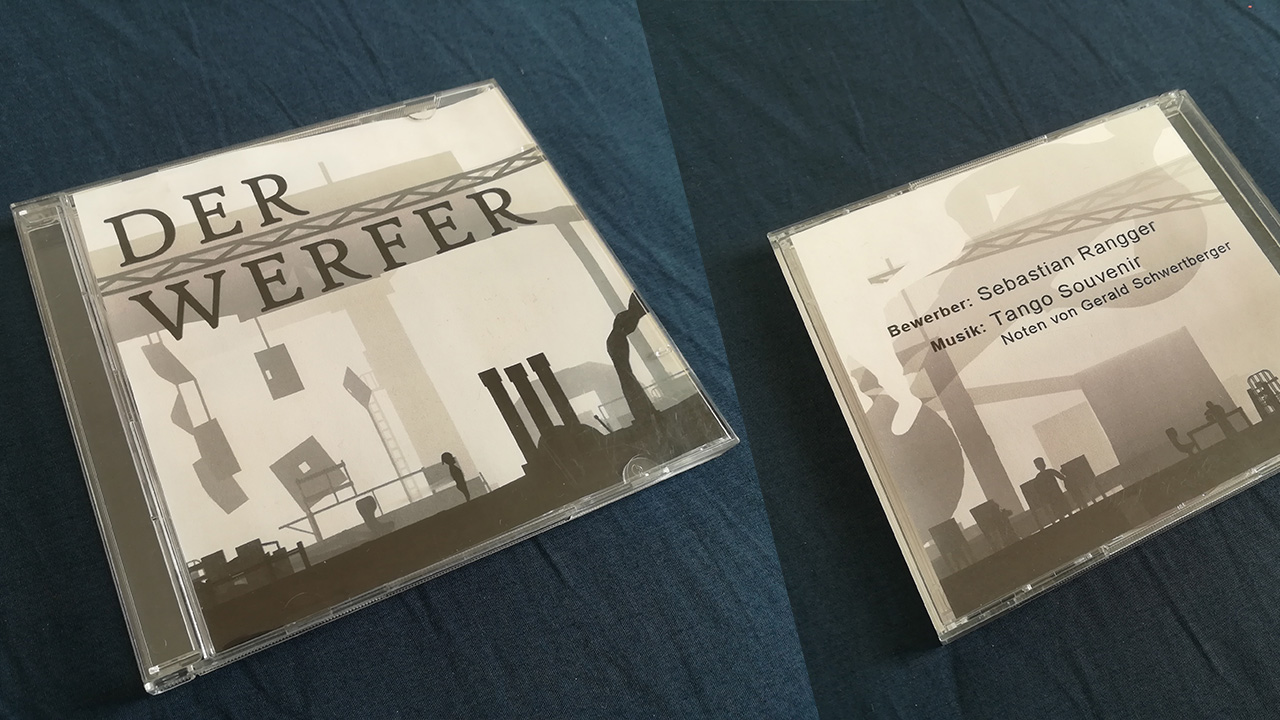
here you can see the finished DVD cover:
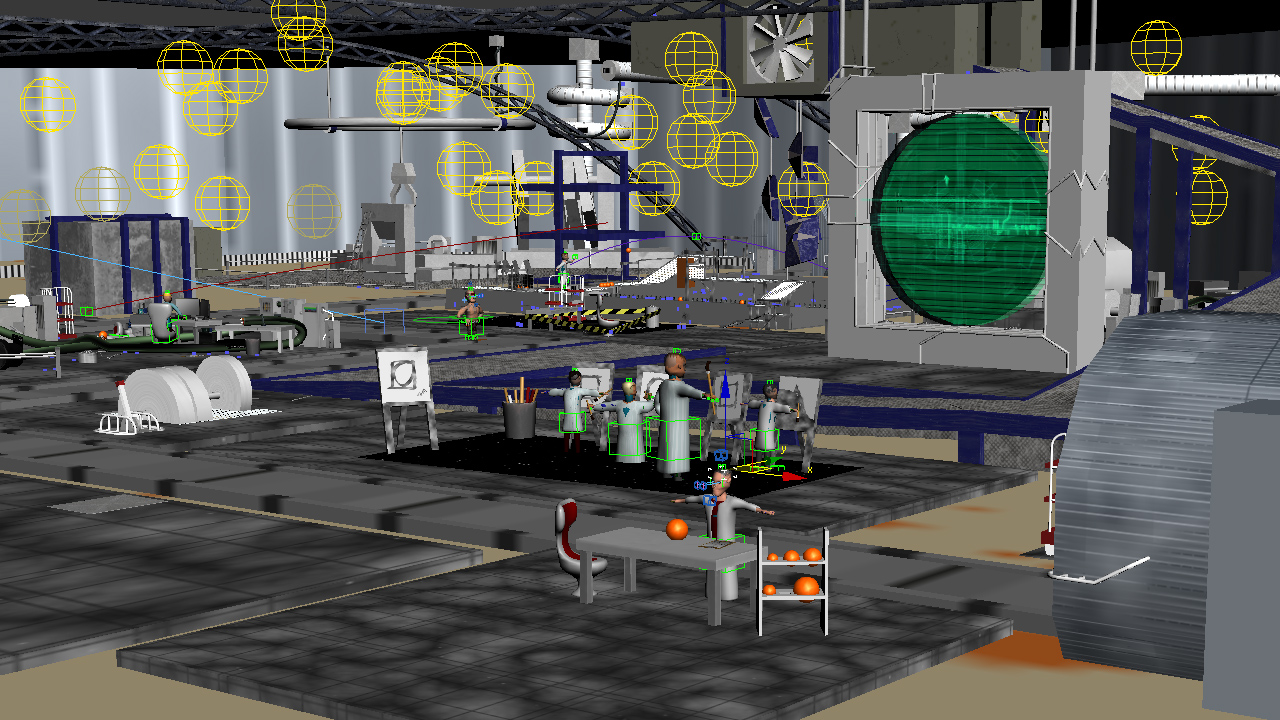
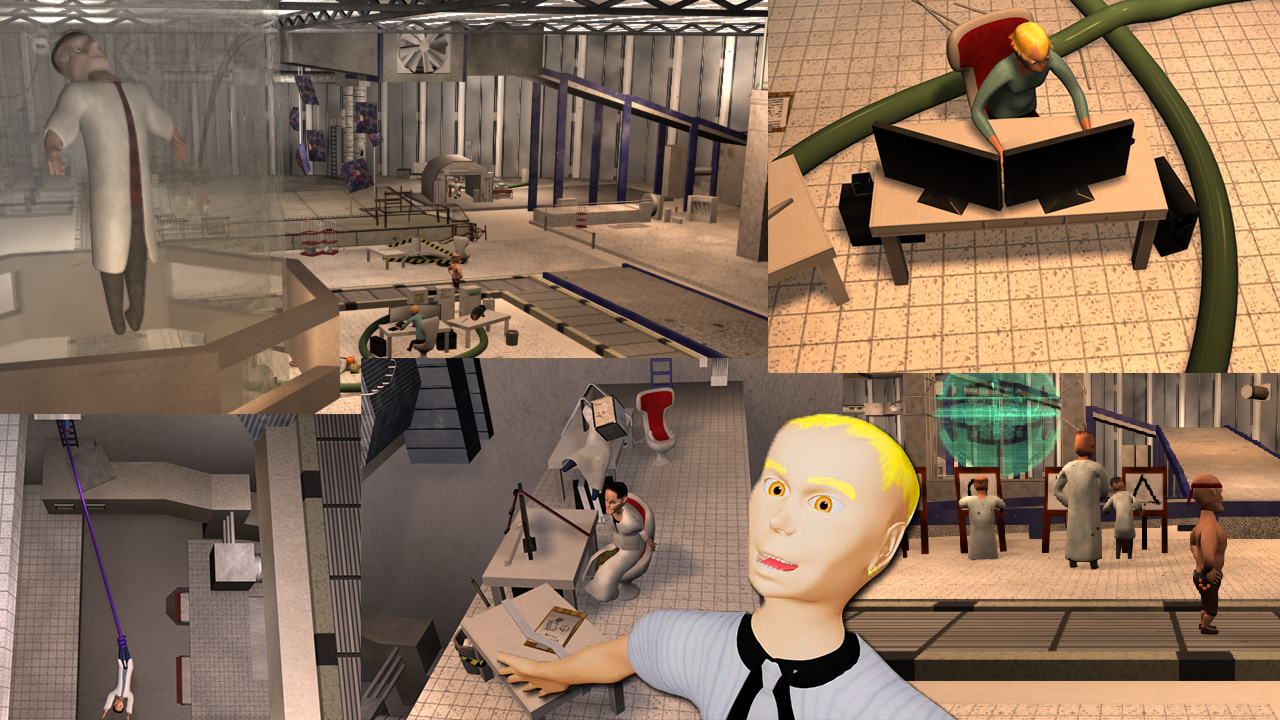
and here are some screenshots of the final scenes:
becoming a work-a-holic
This project had all the ingredients that years later would be 'forbidden' to include in first and second-year projects:
- human characters (anatomy is very challenging to model correctly)
- character animation (this is the holy grail of animation)
- facial animation (again, very time-consuming and complex)
- various scenes and camera angles (I had over 48 shots, which means lots of unique assets)
- long animation with thousands of frames (in this case almost 3 minutes, which equals to roughly 6000 frames, because shots need to be longer for blending)
- re-inventing the wheel (I created everything from scratch, even textures & all the sound effects)
And the list could go on! These tasks are all extremely time-consuming and I had not one character but dozens.
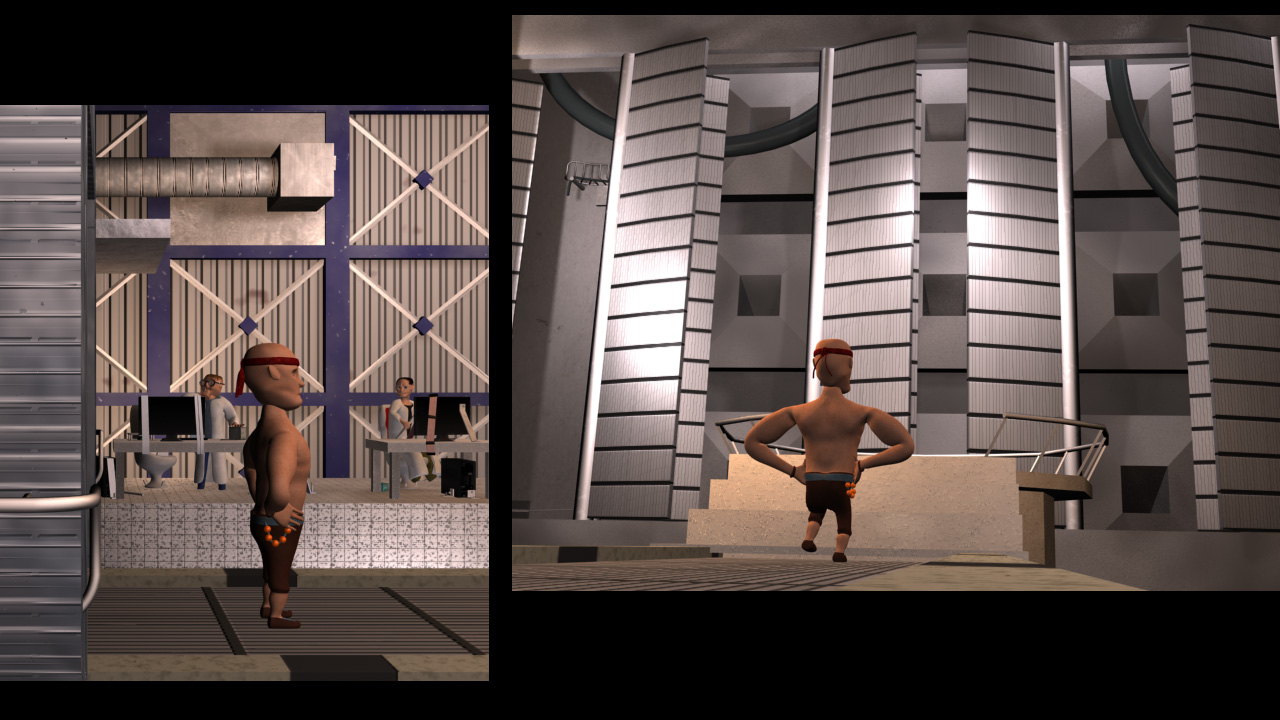
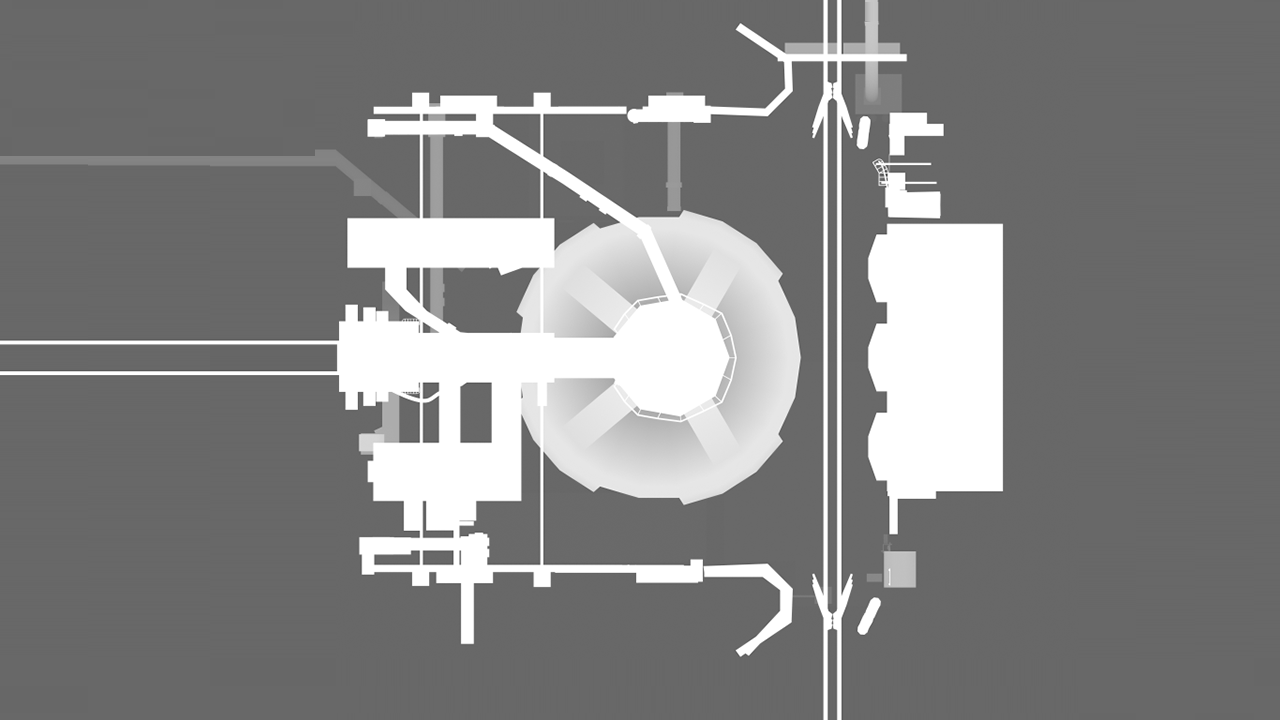
But there were also things that went quite well: for example the conveyor belt beneath the main character, so I wouldn't have to animate 2 minutes of walking, or the field of view that always stays in the same quadrant of the laboratory.
By investing every free minute into this project I was somehow able to pull it off and finish everything, but in hindsight I should have really focused on one or two areas instead of ten. This would not only raise the overall quality of the animation but is common practice in the real world: you apply your own knowledge and creative energy where it matters, and use shortcuts & proven solutions for the rest.
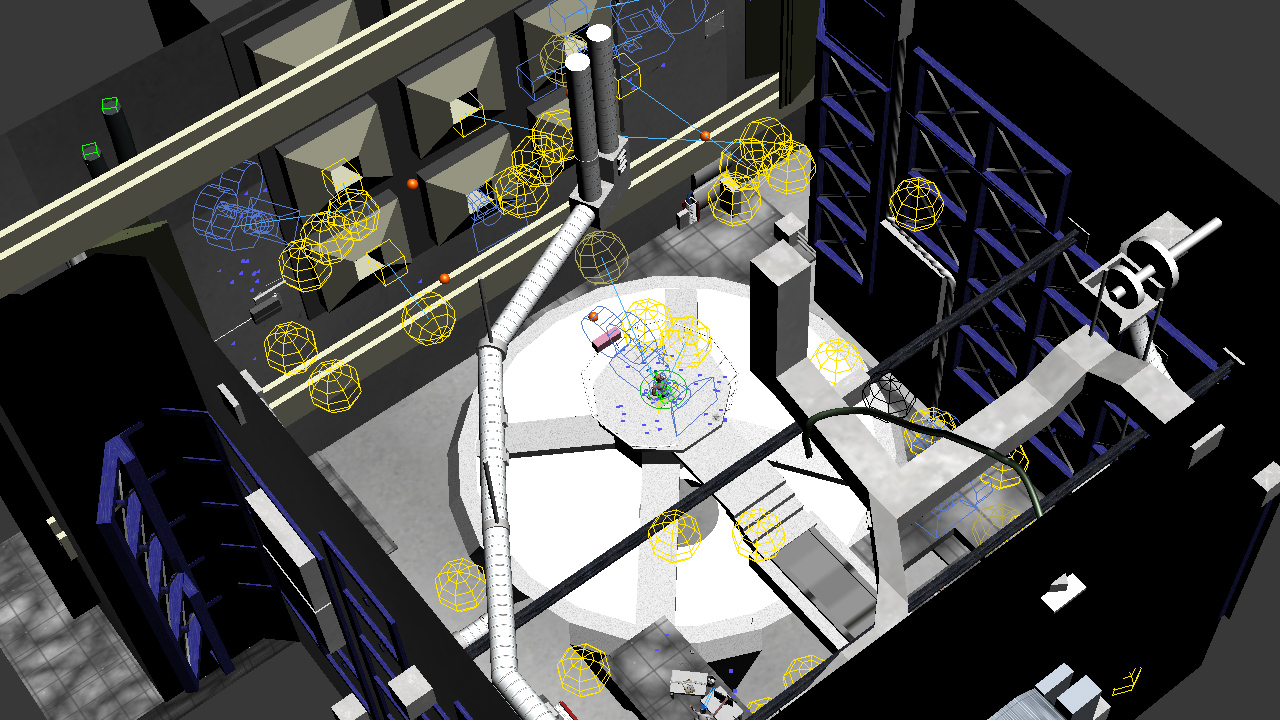
Here is what I'm talking about:

Can you see it? Yeah - I thought it would be absolutely vital to also have water in this project. I wasted days trying to get the rendering right when it would be only visible for like 10 frames in the final animation, and with all the post effects you wouldn't even realize it's there. Here is the final rendering with all the post effects & blending:
Hope you enjoyed hearing about my struggles, I guess lots of aspiring 3D artists encounter something similar during their first projects.