


One thing I learned from working with maya is the power of customization: creating shortcuts, menus and export scripts can drastically improve your workflow. Furthermore using software this way is a lot of fun: interaction becomes natural and intuitive, tailored to your needs.
The following scripts are inspired by marking menus in maya: I think they are really useful because they always appear at the current mouse position and are very intuitive to use. All of them are started together with windows and are used very frequently:
- progressAudio
- folderMenu
- windowSnapper
You can download all the scripts here, remember that you need to install AutoHotkey for them to work:
Please keep in mind that this is not an optimized or user-friendly package but rather a work-in-progress project. Especially the folderMenu requires you to adjust parts of the code if you want to use the advanced features. But if you know how to code or are up for an adventure - go for it ;)
progressAudio
This small script will create a vertical bar beneath the cursor to adjust your current audio-level. I often find myself in situations where the current music is too loud or should be muted just for a second to talk with others, and this script does just that.
By default the bar is only shown while the hotkey is pressed and by moving your mouse up and down the volume adjusts instantly, but you can change that option in the script if you like.
On a technical level this script makes use of the standard windows-progress-bar, and modifies it based on mouse input and the current audio level. You can also alter the colors for the progress bar inside the script itself.
folderMenu
This script is based on the script DynamicFileMenu by Autohotkey user BGM. It displays the content of a specific folder in a right-click-menu like fashion. Once everything is set up, the menu updates automatically. You just need to put your files and links into your custom folder and they will show up in the menu.
There is also some special functionality: for example if a .url link is clicked, the script will check if there is already a tab with this name and set it active, otherwise it will open the link in a new one.
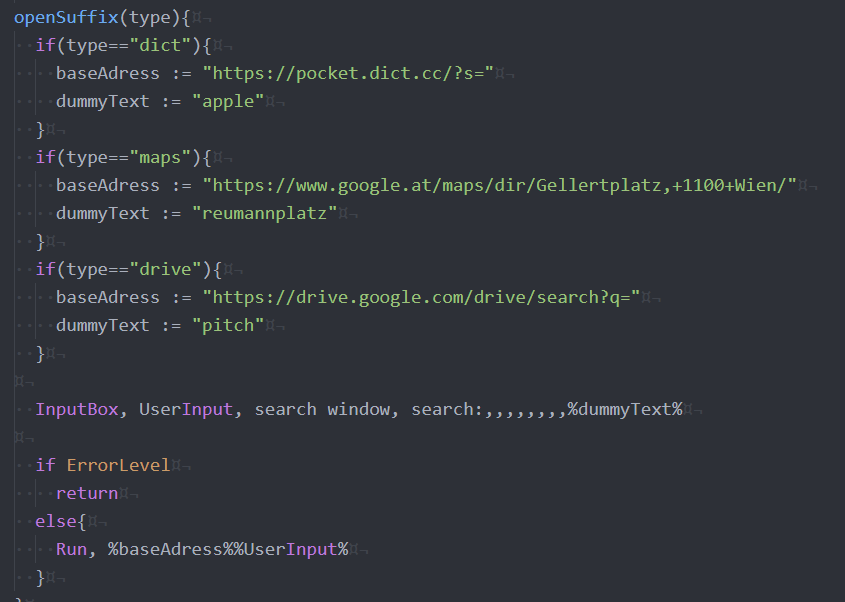
You can do even more advanced stuff: if you click on "map" an input box will appear, where you can enter a target adress. After you hit enter, google maps opens up and searches for the fastest route to this target location:

windowSnapper
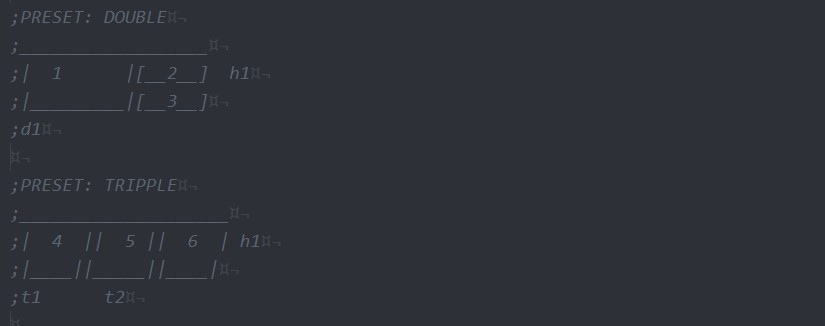
WindowSnapper snaps the window currently under the mouse cursor into a predefined layout space. By clicking left you can switch to the next preset, by clicking right you can toggle fullscreen mode. To achieve the hover effect WindowSnapper uses the same trick as the audio level script: the boxes are just progress-bars that are either 100% filled or completely empty.
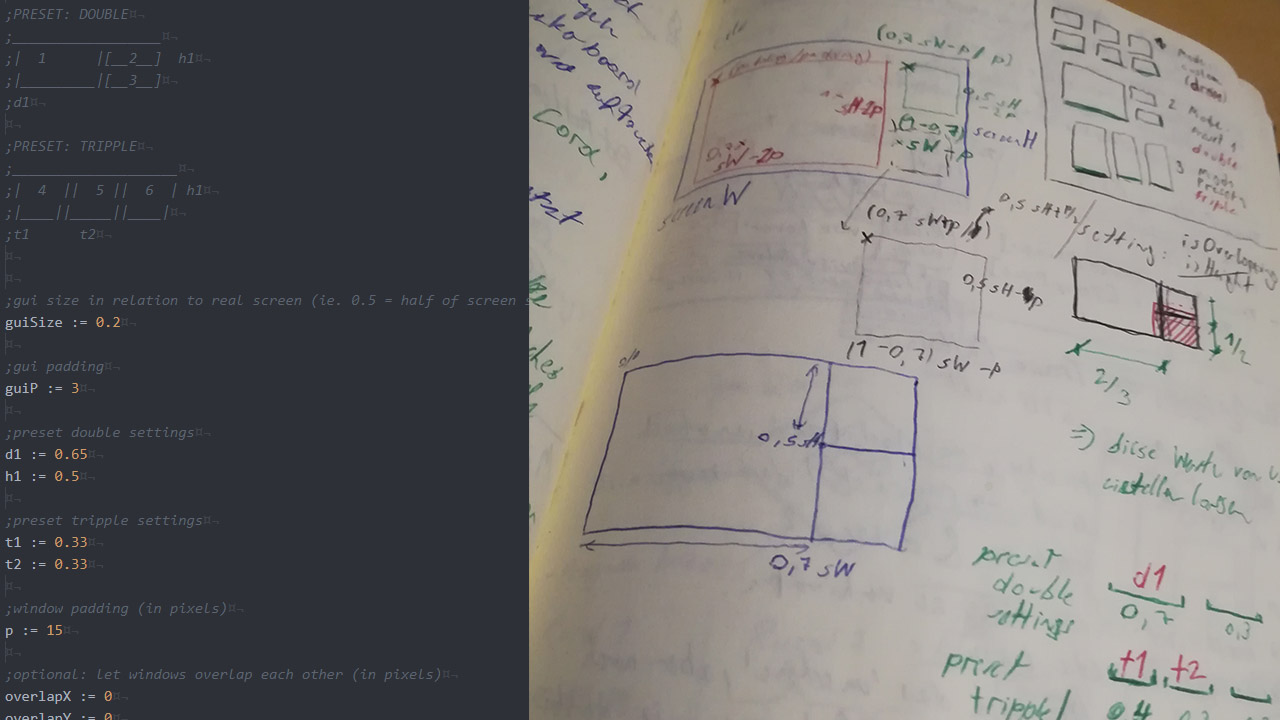
In this example I have already created two presets: one main window on the left with two split ones on the right, and one with three columns:
You can of course create your own layouts too. Because everything is calculated with percentages, this script works with all kind of screen resolutions. At the moment I am using this script with a single ultrawide monitor, but it should be easy to adapt it for multi monitor usage.
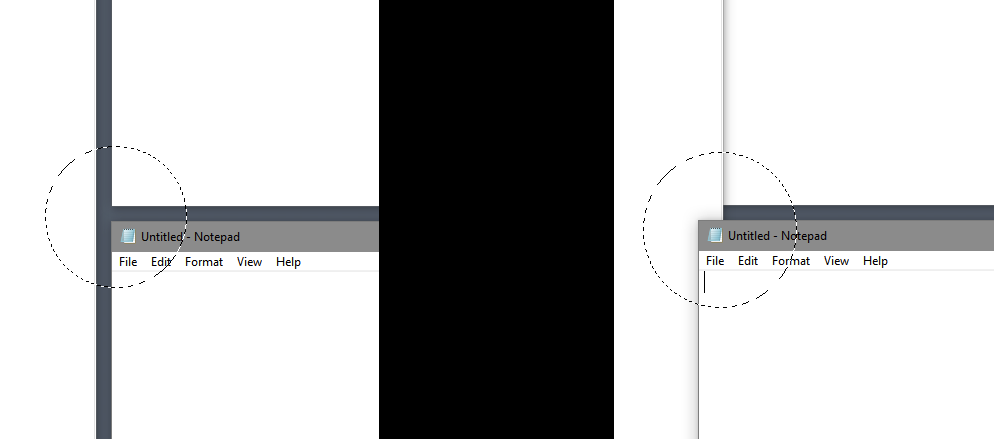
The padding between windows can be set inside the script as well as optional overlay and colors:
Here you can see the difference between overlap x = 0 and overlap x = 20 pixels: